
Yes, it can be done. And when you've finished, let's just hope it doesn't look anything like the counters shown above or below: UGH!

Okay now that you've seen how NOT to do it, lets get started. These are my counters before:
 < Now paint a layer of laytex Kilz on your horrible counters and let it dry about 45 minutes. No smell!
and here they are better
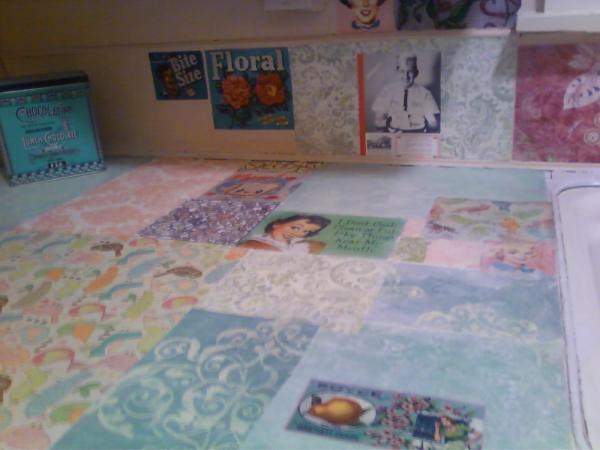

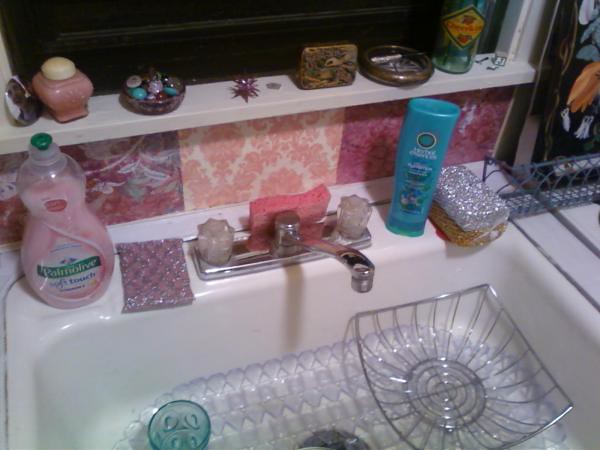
The walls are crusty and lumpy! We can just cover them up with some nice paper and mod podge. MP is a glue but also a sealer, so we'll put it on top too.
oh dear this won't do at all!
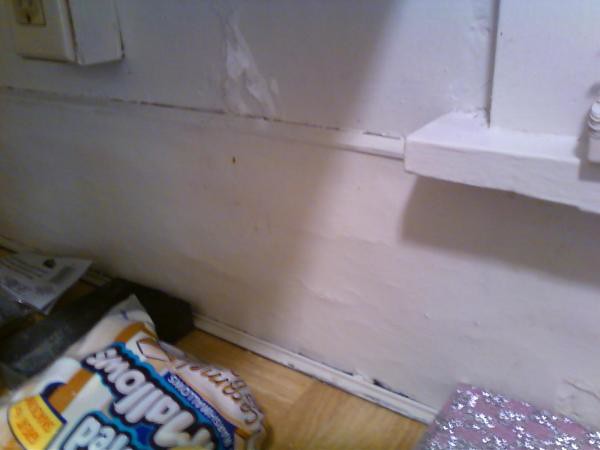
and now.... yes, the lumps are still there, but at least you can't tell. Hey, I'm not a contractor, I'm a decorator.
 so its better
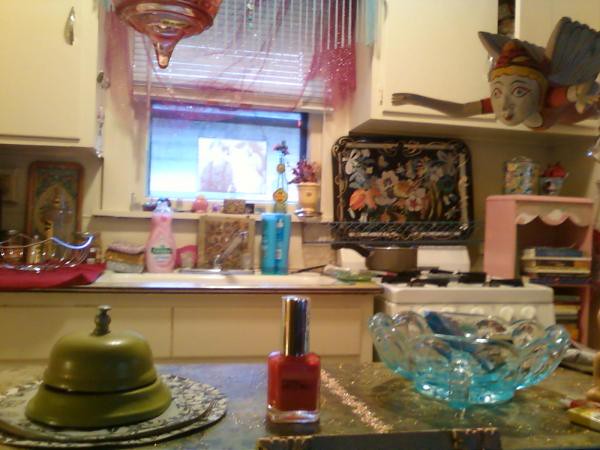


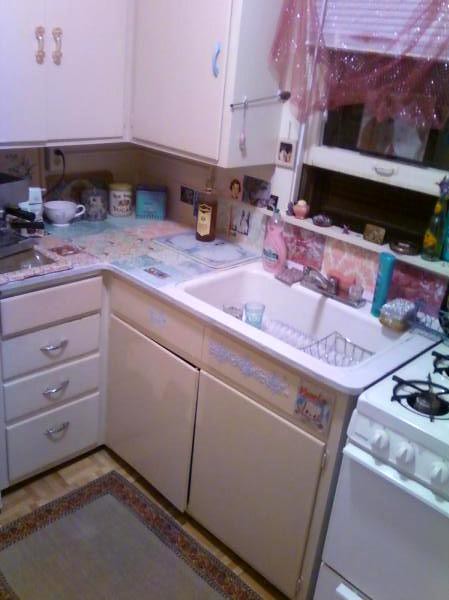

I'm not even scared! Here, look at my old kitchen:
 I know, that threw me off too. Sorry.
 But it used to be ugly too! (But not as ugly as this one)
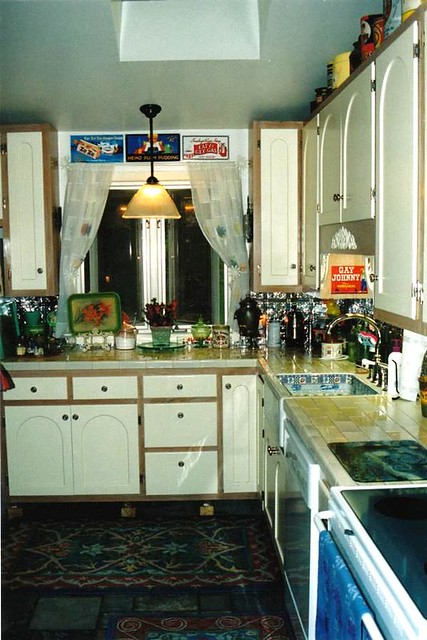
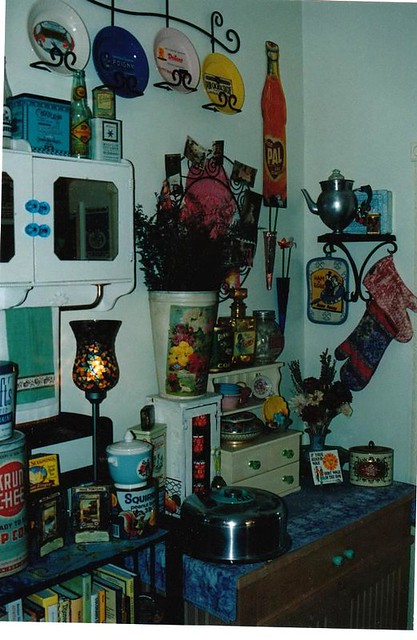
I just love how the floor and counter are the same. HaHa! Gross!!!

 so lets get going-
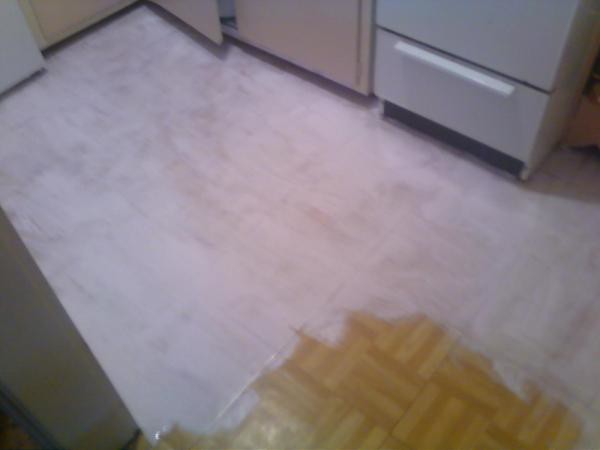
ahhhhhhh
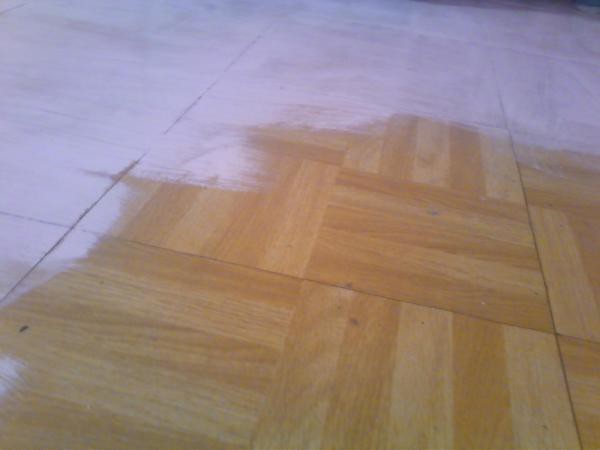
now a fresh periwinkel, complete with rug
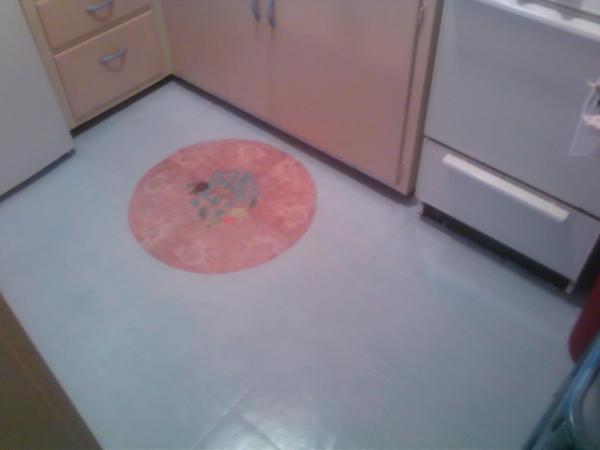

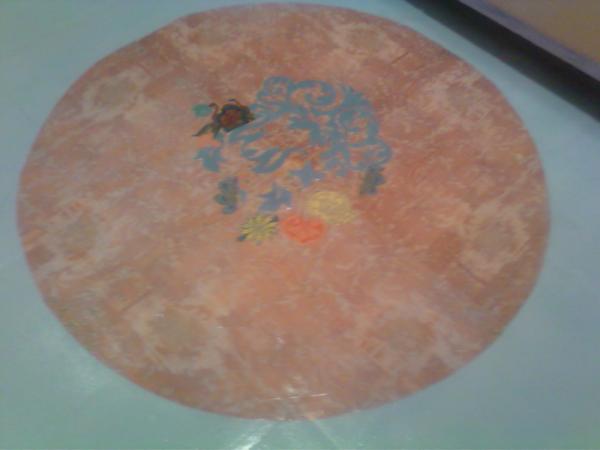
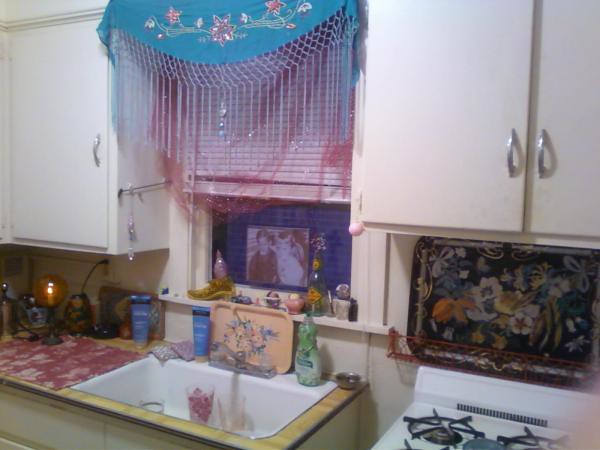

Okay let's get going here
Remember don't be scared! Like you could hurt something this hideous!

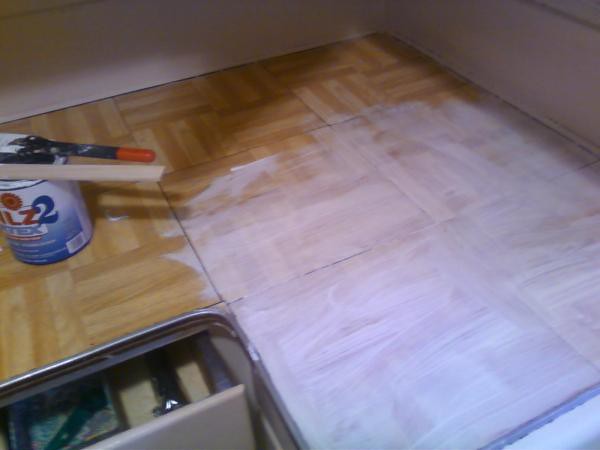
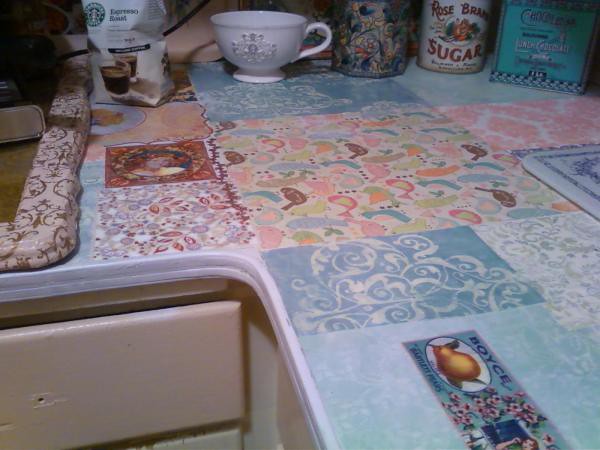
So just put some latex Kilz on the horrible curled up cheap plastic floor tiles on your counter that makes you physically ill to look at. It's easy! It doesn't smell either.
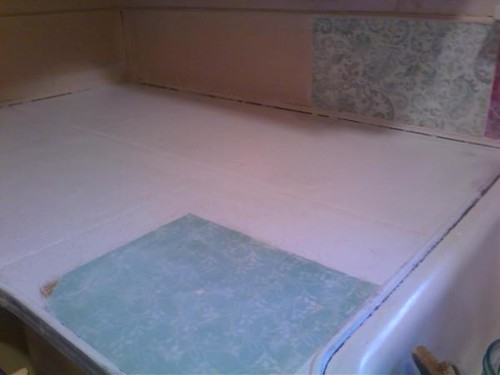 Then, let it dry for about 45 minutes. Now get your mod podge and the pictures or designs you've been printing out or getting from somewhere. Paint a thin layer on the back and position them. Smoothe out with a credit card. Be careful not to rip the paper.(your photos)
Well the backsplash looks better already! I did roll on regular periwinkle paint over the counter/floor tiles first, but I probably didn't need to.
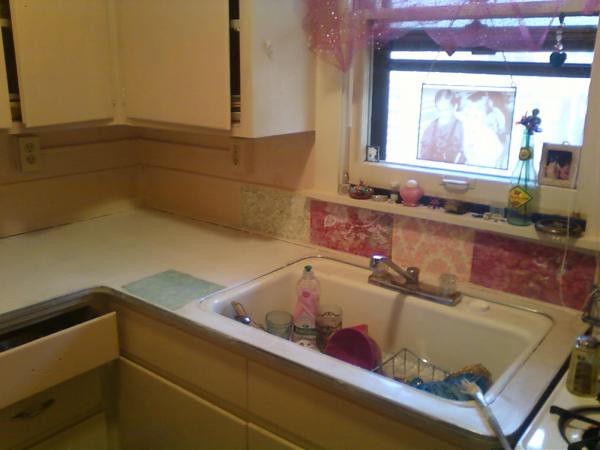
Wish the post office hadn't lost my "real" camera. My phone cam is horra!
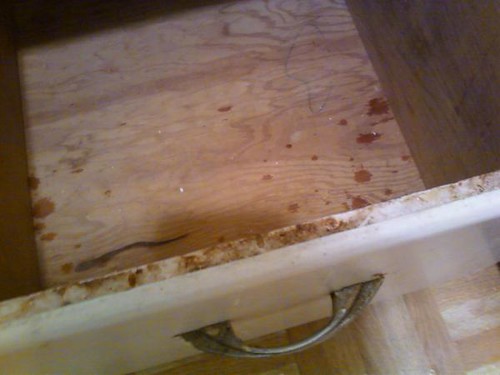
The drawers "boasted of" forty years of gunk
I love the sink stains. I feel confident that with a little "Barkeepers Friend" the sink will look... well, better.

 The "pass-thru". LOL Like I will ever, even once pass anything through this hole. Still, it must be made to look "fancy."
The walls are crusty and lumpy!

 so its better


I'm not even scared! Here, look at my old kitchen:

But it used to be ugly too! (But not as ugly as this one)


I just love how the floor and counter are the same. HaHa! Gross!!!

Okay let's get going here
Remember don't be scared! Like you could hurt something this hideous!


So just put some latex Kilz on the horrible curled up cheap plastic floor tiles on your counter that makes you physically ill to look at. It's easy! It doesn't smell either.
 Then, let it dry for about 45 minutes. Now get your mod podge and the pictures or designs you've been printing out or getting from somewhere. Paint a thin layer on the back and position them. Smoothe out with a credit card. Be careful not to rip the paper.(your photos)
Well the backsplash looks better already! I did roll on regular periwinkle paint over the counter/floor tiles first, but I probably didn't need to.

Wish the post office hadn't lost my "real" camera. My phone cam is horra!
The drawers "boasted of" forty years of gunk

I probably don't need to tell you that the drawer is clean and nice now. More pictures of finished kitchen:
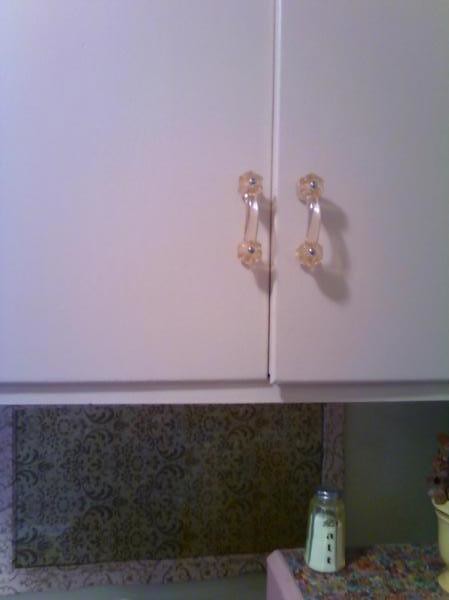


3 comments:
So how are the counters still holding up? I used varethane (waterbased) to decoupage brown paper onto all of my subfloors, after I yanked the disgusting carpets. It is holding up very well, and when a spot does get ripped or such, which has only happened twice in the past year, I just cover it with more paper...except now I used Mod Podge. A gallon of Mod Podge is only 30 bucks on amazon, including shipping. MUCH cheaper than 49,99 waterbased polyurethane! Seems to hold up just as well too. Thanks for sharing your esperience, which inspired me to do my floors, and now my counters will be coming shortly.
You have done a good job.
Love it!! I've been wanting to do this very thing to my kitchen counter but never had a name for it. Now I do! decoupage...
I get that after (presumably) cleaning the old counter, you apply Kilz2 Latez, dry 45 mins, then apply Mod Podge to the back of the paper and position it. What I'm not clear on is, what's the step after that? Do you just finish off by 'painting' Mod Podge or equivalent over the top of all the paper? How many coats? How long to dry between coats? Is any sanding required, or air bubbles to deal with?
Thank you!
Post a Comment